Overview
The Azure Management plugin gives Rock administrators the
ability to view and manage features of Microsoft’s Azure Cloud computing
platform from within Rock, including the ability to schedule and automate
scaling of the Azure SQL Database Service.
Azure SQL Database Service Scaling
The Azure Management plugin supports manual scaling or
automatic scaling on a weekly schedule.
Note
NOTE: Scaling is only supported for the Standard and Premium
editions of Azure SQL. Scaling is not
supported if you are running an edition which uses vCore pricing or which is
part of an elastic pool.
After installing the plugin, navigate to Admin Tools >
Installed Plugins > Azure Management.
Configuring Notifications
The Azure Management plugin will send two kinds of
notifications when a scaling attempt occurs.

Information Notifications
If the scaling attempt is successful, an information
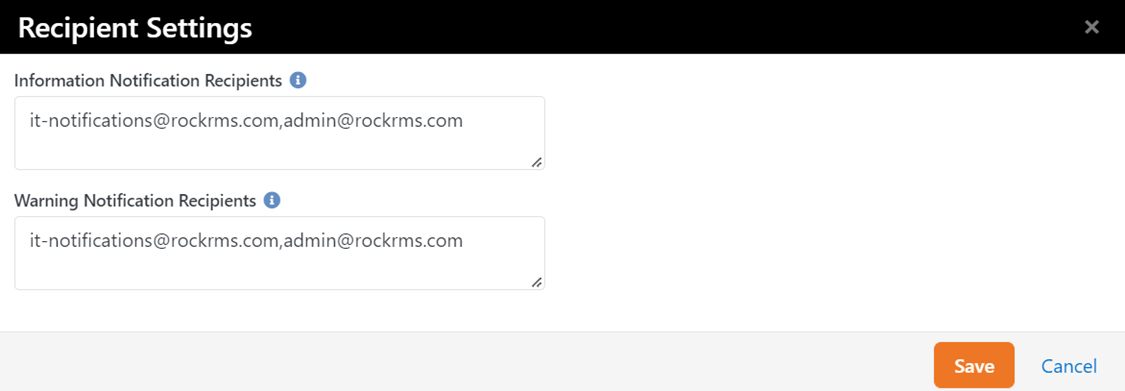
notification will be sent to inform you that the process succeeded. You can modify the recipient list for this
notification on the Azure Management configuration page (Admin Tools >
Installed Plugins > Azure Management). If you wish to configure details of the email
generated by this notification you can do so by modifying the “Azure DB Scaling
Information” System Communication template.
Warning Notifications
If a scaling attempt does not succeed within a specified
time limit, the Azure Management plugin will send a warning notification. This notification may mean that the scaling
request failed and manual intervention may be required. You can modify the time limit for manual
scaling requests by configuring the block settings on the Azure Management
Configuration block. For automated
scaling requests, this setting is found on the Azure Management Job, which is
found by navigating to Admin Tools > System Settings > Jobs
Administration.
The recipient list is in the same place as the information
notification recipients, on the Azure Management configuration page (Admin
Tools > Installed Plugins > Azure Management). Details of the email message can be
configured by modifying the “Azure DB Scaling Warning” System Communication
template.
Manual Scaling
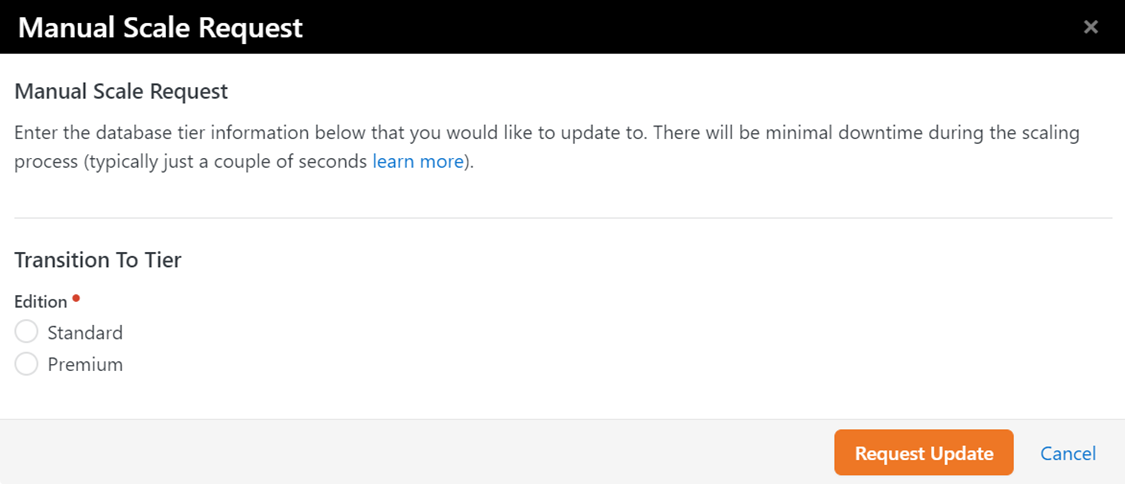
To manually change the service tier of your Azure SQL
Database service, navigate to Admin Tools > Installed Plugins > Azure
Management and select the “Manually Scale” button on the top right section of
the page.

Note
Manual scaling is not supported if you have enabled
automatic scaling because the automation job would revert your manual
settings. If this option is not visible,
it is because you have automatic scaling enabled.
Automated Scaling
If you wish to automatically increase or decrease the service
tier of your Azure SQL Database Service, navigate to Admin Tools > Installed
Plugins > Azure Management and change the toggle value labeled “Scaling
Automations” to “Enabled”.
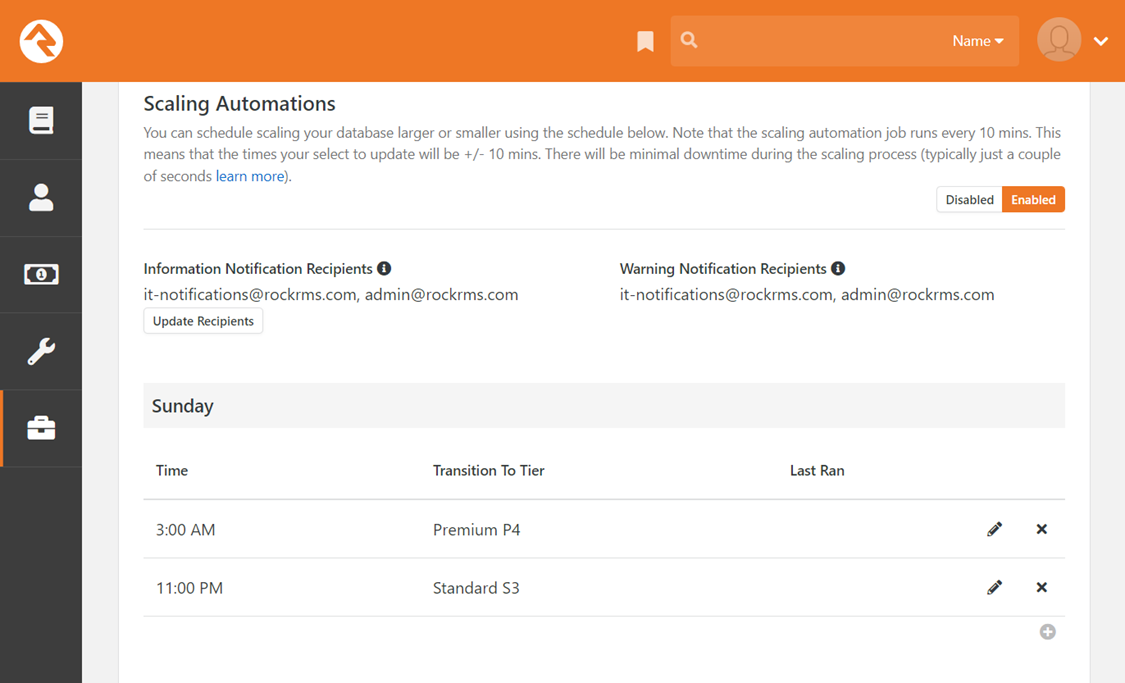
When you enable Scaling Automations, you will see scheduling
options, like those below, and you can add an automatic scaling adjustment at
any time for any day of the week. For
example, this is what the scheduling options might look like if you wanted to
increase your database processing capabilities for specific time windows on Sunday
but scale the database back down for the rest of the week.

Notes About Request Timing and Scheduling
The automated scaling requests you configure are executed by
the Azure Management Job, which is found by navigating to Admin Tools >
System Settings > Jobs Administration.
By default, this job runs every 10 minutes, and this means your scaling
requests could be delayed by as much as ten minutes. If you require more precise timing, you can
change the scheduling of this job.
The job will always attempt to scale to the last level
specified in your scheduling options.
This can conflict with manual scaling.
If you have manually changed your Azure SQL Database service to a
different service tier, the automated job will try to set it to the service
tier you scheduled the next time it runs.